Prerequisites: Before you begin, create an AWS access
key.
Getting started
After you complete the onboarding process, you can start sending emails to your users and monitor deliverability.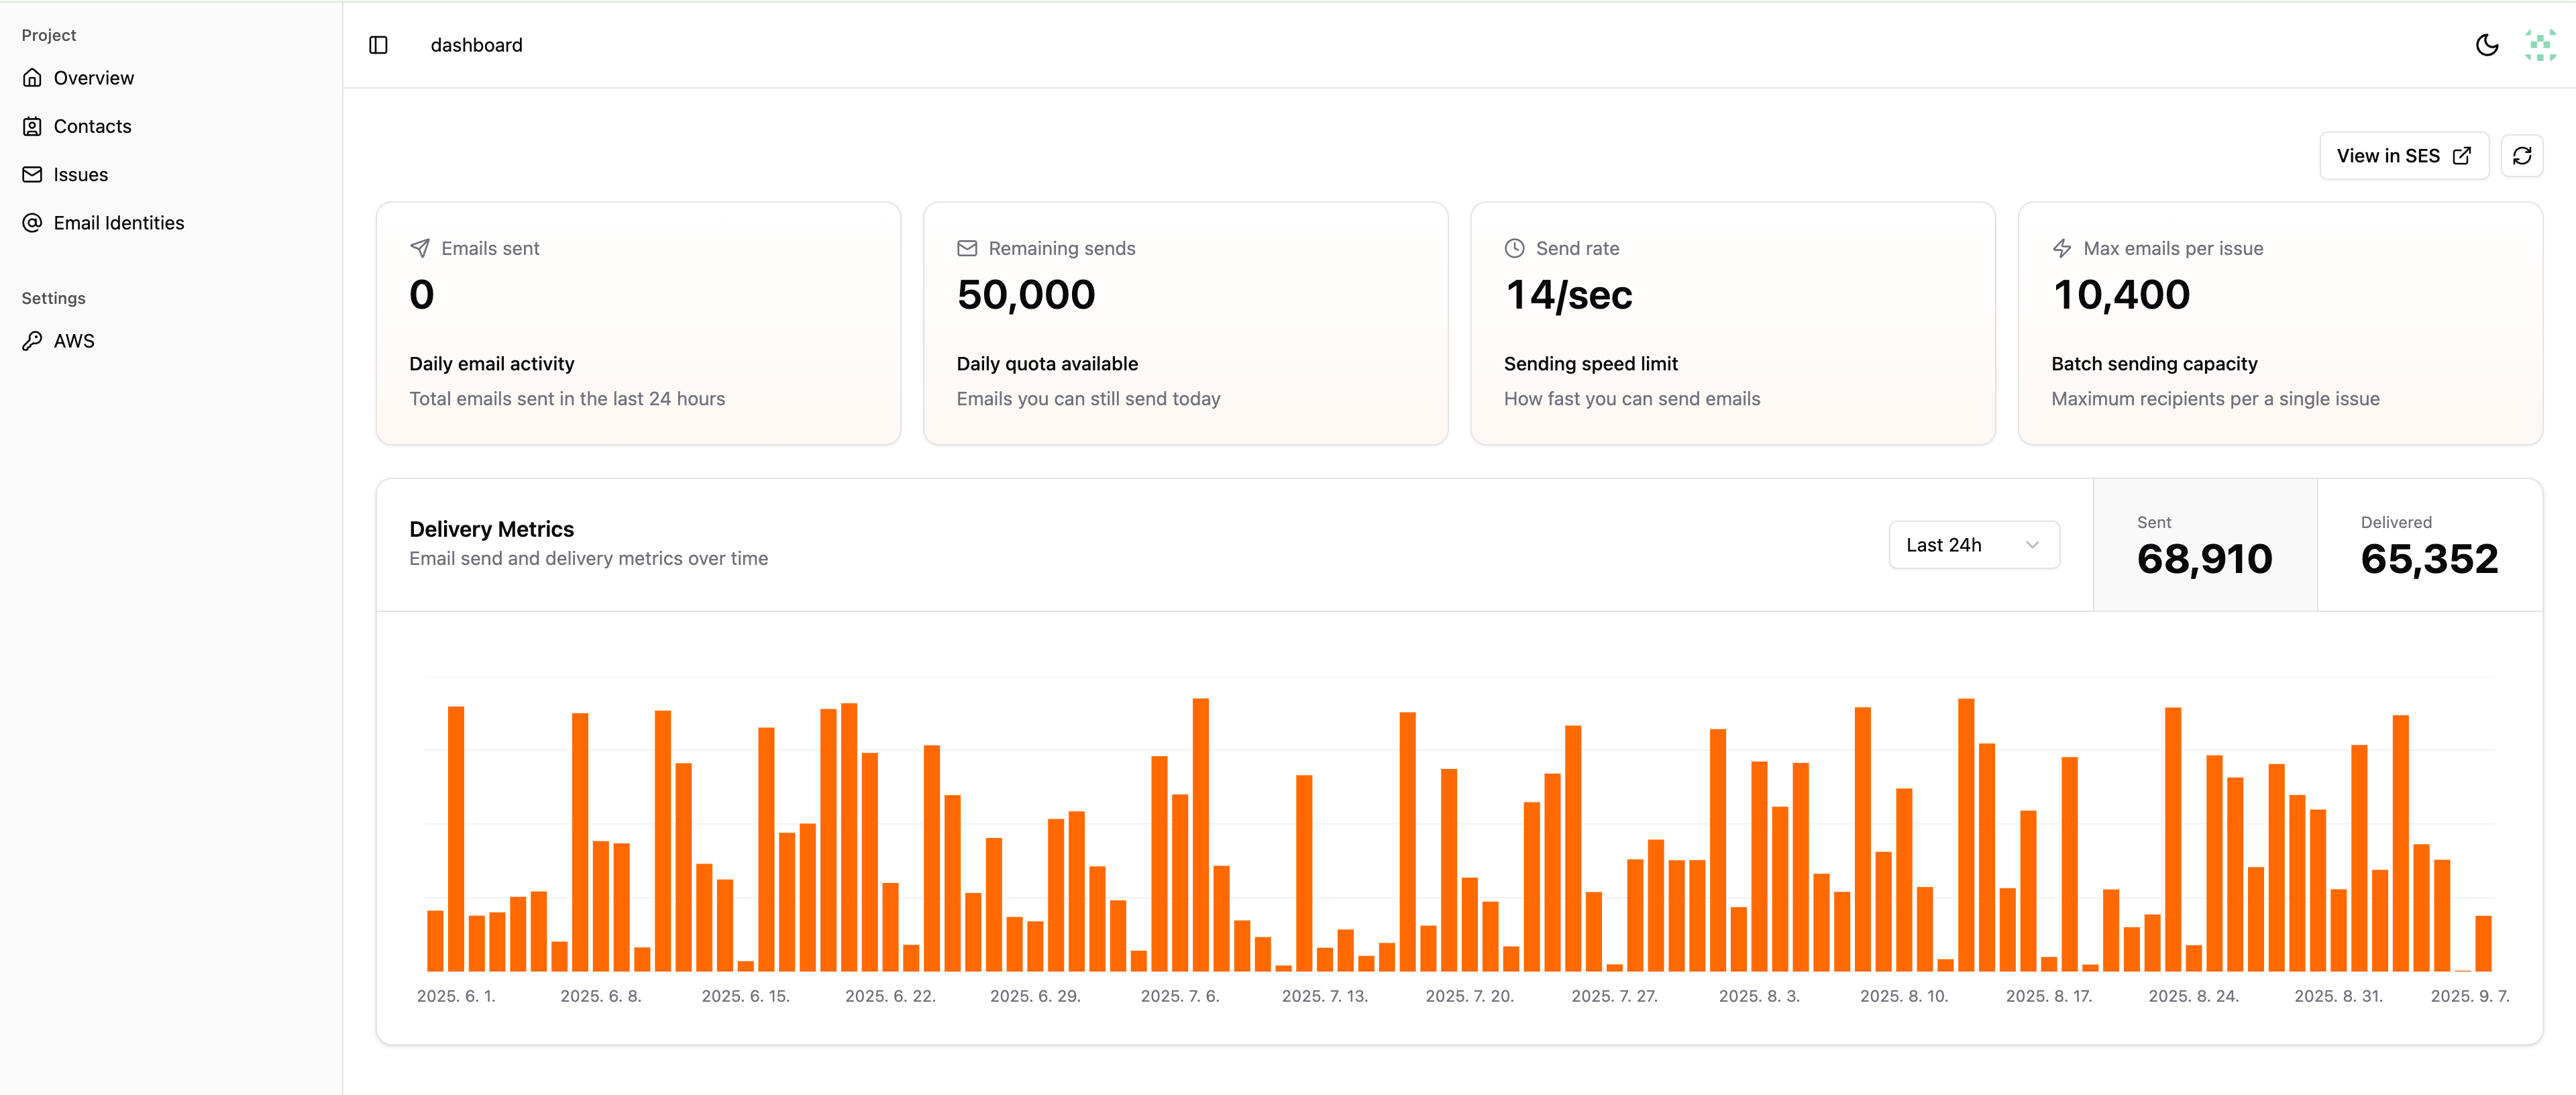
Set up AWS access key
Email For Indie Hackers will require an AWS access key after you sign up, because it will be used to send emails from your account.- Enter your access key and secret access key you created as prerequisites.
- Select the region where you moved out of sandbox mode.
- Click Initialize Project to set up the project.
Verify domain
AWS SES provides a domain verification process to ensure that your domain is properly configured for email sending.- In the navigation panel, click on Email Identities.
- Click Add Identity and enter your domain.
- Go to the detail page and you can find DKIM settings.
- Copy the domain verification CNAME record and add it to your DNS settings.
- Wait for the verification to complete.
Add senders
After you have verified your domain, you can add a sender identity to send emails.- In the detail page of your email identity, click on Add Sender.
- Enter the sender’s email address and click Add.
Add contacts
- In the navigation panel, click on Contacts.
- Two options are available to add contacts:
- Individual contacts: Click on Create New Contact and enter email addresses separated by commas.
- Bulk import: Click on Import Contacts and upload a CSV file with email addresses.
Create an email issue
- In the navigation panel, click on Create Issue.
- Select a sender, and enter the subject and body of your email.
- You can send a test email by clicking on Test Email to preview how your email will look.
- Click on Send Email and confirm to send the email to all your contacts.